
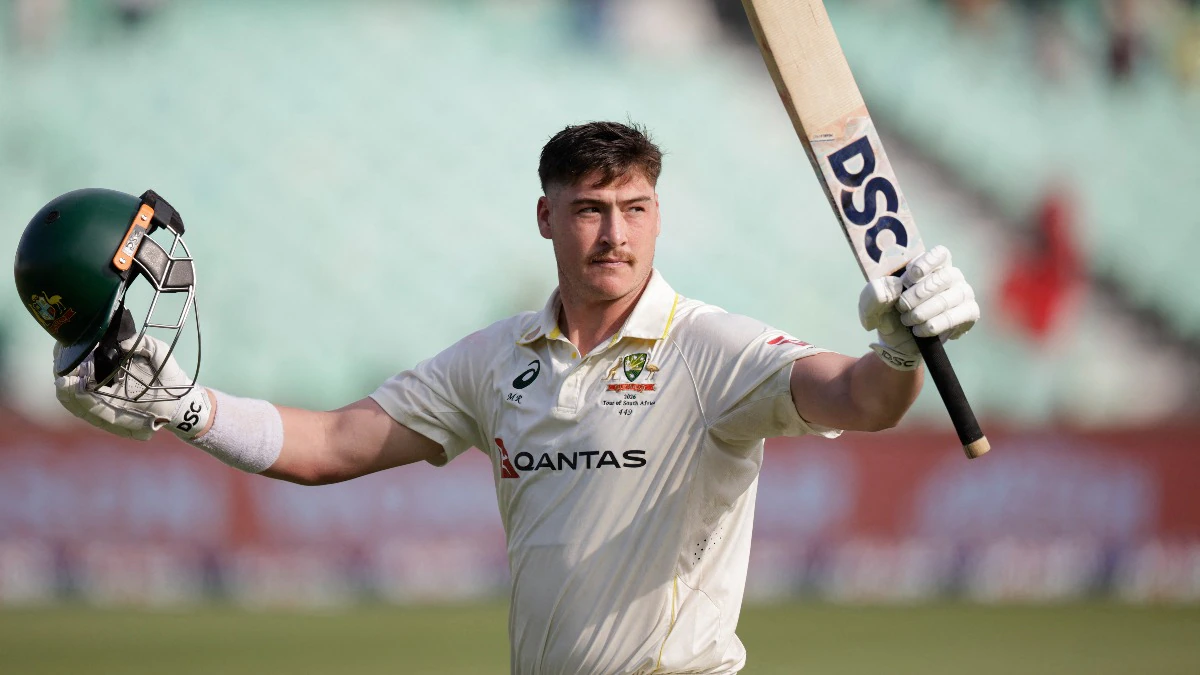
Matt Renshaw delivered an impressive performance, scoring a career-high 190 runs, and helping Australia recover from a tough spot in the first Test against South Africa at Kingsmead, Durban. After Australia was bowled out for 390 runs on the second day of play, South Africa responded with 27 runs for one wicket before bad light ended the day’s action.
Renshaw’s innings was particularly crucial, as Australia found themselves in a precarious position at 124 for six on the first day. Batting at number five, he showed remarkable patience and skill, transforming a potential disaster into a solid first-innings total. Renshaw faced 397 balls, demonstrating discipline and a keen eye for loose deliveries.
This innings was especially noteworthy given Renshaw’s recent struggles, having scored in single digits in 11 of his last 13 Test innings. His outstanding performance came almost nine years after his first Test century of 185 against Pakistan in Sydney in January 2017.
### AUSTRALIA’S TURNAROUND WITH CUMMINS AND RENSHAW
On the opening day, Renshaw began to turn things around with captain Pat Cummins by his side. The duo put together a crucial partnership, adding 86 runs for the seventh wicket, with Cummins contributing a useful 43 runs to stabilize the innings as Renshaw began to take control.
Beginning day two at 187 for six, Australia was hopeful that their overnight partnership would lead to a strong total. However, South Africa fought back, with Wiaan Mulder dismissing Cummins, caught by Aiden Markram. Mulder then bowled Mitchell Starc for just six runs, leaving Australia at risk of a lower total.
Despite the pressure, Renshaw maintained his composure, strategically rotating the strike and allowing Nathan Lyon to support him from the other end. Even after being hit on the helmet by Anrich Nortje, he regained his focus and continued his impressive innings, adeptly managing the tail-enders as Australia approached 400 runs.
### RECORD STAND FRUSTRATES SOUTH AFRICA
The standout moment of Australia’s innings was Renshaw and Lyon’s remarkable 134-run partnership for the ninth wicket. This was the highest ninth-wicket stand for Australia against South Africa in Test history and a record at Kingsmead. Lyon’s contribution of 27 runs was pivotal, allowing Renshaw to accumulate runs steadily.
Renshaw’s innings came to an end shortly after tea when he edged Simon Harmer to Markram at slip, falling just 10 runs short of a double century. His dismissal marked the conclusion of an innings that significantly changed the course of the match after Australia’s early batting woes.
Wiaan Mulder led the bowling attack for South Africa, taking four wickets for 68 runs, while Marco Jansen picked up three for the same number of runs. Despite their efforts, they couldn’t stop Renshaw from guiding Australia to a total of 390 all out.
South Africa’s reply began on a shaky note when Josh Hazlewood dismissed Ryan Rickelton without scoring, with Beau Webster taking the catch. Aiden Markram and David Bedingham steadied the ship, reaching 27 for one before bad light halted play.
Australia will carry confidence from their recovery, but South Africa is still within striking distance of their total. The pitch and playing conditions may play a crucial role as the third day approaches, making it a significant time for both teams to seize control.
